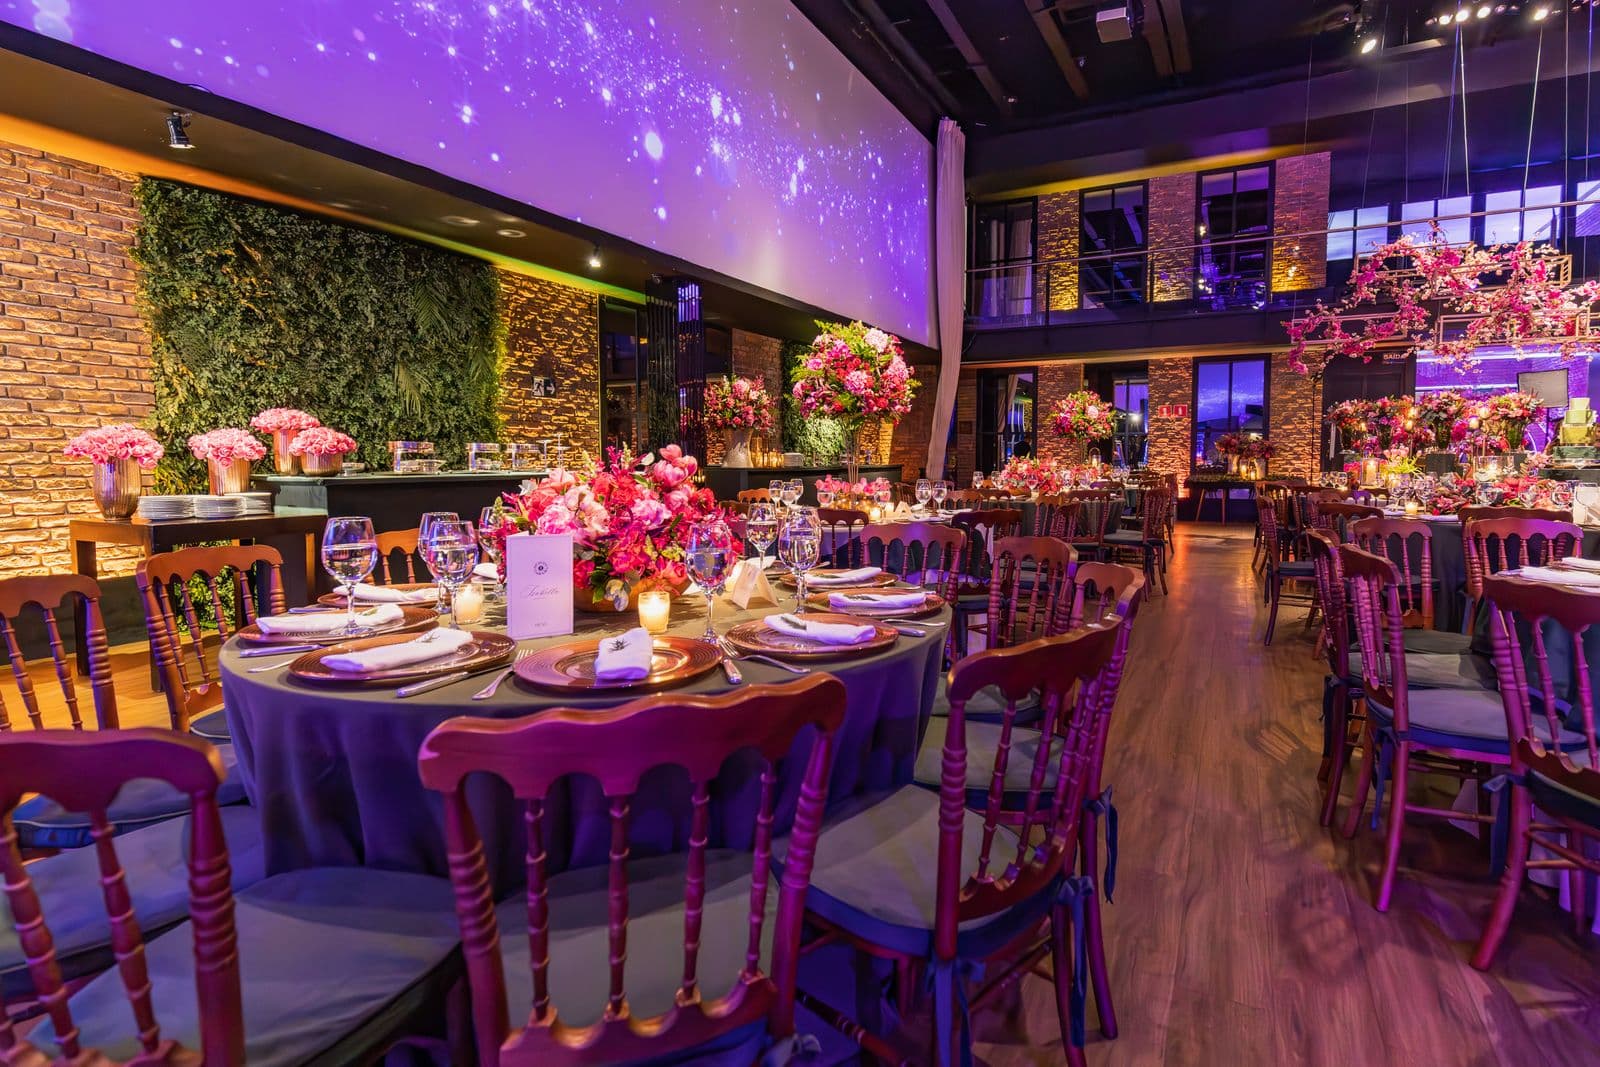
Anyone who's assigned seats for a 200-person gala by hand knows the specific frustration: you finish a layout that finally works, someone declines, and now three tables need to shift to fill the gap without leaving an obvious empty chair next to the head table. A seating chart maker exists to take that churn out of your hands, but not all of them do it well, and a lot of what gets marketed as a "seating chart tool" is really just a drawing app with table-shaped icons. Here's how to tell the difference and how to actually run the process.
What a seating chart maker actually needs to do
The visual layout part, dragging round or rectangular tables onto a floor plan, is the easy 20% of the job and the part every tool does reasonably well. The harder 80% is everything connected to your guest data:
- Syncing to your live guest list, so a decline or a new RSVP updates the chart without you manually deleting or adding a name.
- Handling plus-ones and party sizes as units, so a family of four moves together rather than as four disconnected names you have to remember to keep near each other.
- Tracking special requests (accessibility needs, keep-apart or keep-together pairs) as data attached to the guest, not as a sticky note next to your monitor.
- Generating name cards or place cards straight from the finished chart, matched to however you're printing them.
- Producing a clean, printable floor plan for the check-in table and ushers on the day, not just a screen-only view.
- Letting you rebalance a table (move three seats at once) without breaking every other table's assignments.
If a tool can't do the first item on that list, the sync to a live guest list, it's a drawing tool wearing a seating chart costume. That's not necessarily a dealbreaker for a small, stable guest list that isn't going to change, but for anything over roughly 100 guests with a real RSVP window still open, you'll be doing manual reconciliation work that the tool should be handling for you.
Purpose-built tool versus generic diagramming software
It's worth being honest about the tradeoff here, because both approaches are legitimate depending on your event. A generic diagramming tool gives you total visual freedom: any room shape, any table style, custom branding on the layout itself. That flexibility is genuinely valuable for a one-off, highly designed event like a wedding-adjacent corporate dinner where the floor plan needs to match a specific aesthetic.
The cost of that flexibility is that the chart is disconnected from your actual guest data. Every RSVP change is a manual edit. Every plus-one is a copy-paste. For a 40-guest dinner where you're not expecting much churn, that's a minor annoyance. For a 300-guest awards night where RSVPs are still trickling in a week out and your caterer needs a table-by-table dietary breakdown, manual reconciliation becomes a real time sink and a real source of errors, the kind where a guest shows up to find their name isn't on any table because the last sync got missed.
A purpose-built seating chart maker trades some of that visual freedom for automation: it assumes tables are round or rectangular, seats are numbered, and guests come from a connected list. For most corporate events, conferences with assigned dinners, and fundraising galas, that's the right trade. Save the fully custom diagramming approach for events where the floor plan itself is part of the design statement and the guest count is small enough to manage by hand.
Common mistakes worth naming
The single most common mistake is finalizing seating too early. It feels productive to build the whole chart the week invites go out, but RSVPs move for weeks after that, sometimes right up to the day before. Every early assignment is work you'll likely redo, and worse, it tempts you to keep an outdated chart "close enough" rather than actually updating it, which is how a guest ends up assigned to a table next to someone who declined three weeks ago.
The second mistake is packing every seat on the first pass with no buffer. Late RSVPs and walk-ups happen even with a firm deadline, and if every table is already full, you're stuck adding a folding chair at the end of a row or, worse, turning someone away at a seated dinner. Leave one buffer table unassigned, or leave one or two open seats scattered across a few tables, specifically for last-minute adds.
The third mistake is treating accessible seating as an edit you make at the end instead of a constraint you design around from the start. Accessible seating needs to be near an accessible entrance, away from stairs, with enough room for a mobility device to maneuver, and close enough to exits that it doesn't require crossing the entire room during a program. If you place general tables first and try to retrofit an accessible spot afterward, you often end up with the worst table in the room, right next to a service door or speaker stack, which defeats the purpose entirely.
A practical workflow from guest list to finished chart
Start with your venue's room capacity and your target table count, based on your realistic confirmed-guest estimate, not your invite list. Build the physical layout first: table shapes, aisle widths, where the head table or stage-facing tables sit, where the accessible seating goes, and where your buffer table lives. This part can happen weeks out, since it doesn't depend on individual names.
Next, collect seating-relevant information as part of your normal RSVP process rather than a separate outreach. Accessibility needs and any keep-apart or keep-together requests belong on the same form guests already fill out to confirm attendance, since a second follow-up email tends to get a much lower response rate than the original RSVP.
Hold off on assigning individual names until close to your RSVP deadline, ideally within the same window you finalize your catering headcount, since both numbers depend on the same confirmed list. Assign VIP, head table, and any sponsor-adjacent seating first, since those placements usually have the most constraints. Then work outward table by table, keeping plus-ones and party sizes together as units rather than splitting families or colleagues across tables.
Once the chart is set, generate your name cards or place cards and a printable floor plan for whoever's staffing the door, since a phone screen isn't a practical reference for a fast-moving check-in line. Do a final pass 24 to 48 hours out to catch last-minute declines or adds, and keep that buffer table or those open seats in reserve until the actual event, not filled in early just because the chart looked incomplete.
Where this fits with your guest list and RSVP system
The quality of any seating chart is limited by the quality of the guest data feeding it. If your RSVP statuses are messy, duplicated, or out of date, no seating tool will fix that for you, it will just make the mess visible on a floor plan instead of a spreadsheet. That's why the seating step works best as the last stage of a clean RSVP process rather than a separate project: confirm your statuses, lock your headcount, then build the chart from that settled list. Event70's guest list keeps RSVP statuses, plus-ones, and dietary or accessibility notes in one place that your planning checklist and budget both draw from, which is exactly the kind of settled data a seating chart needs before you start assigning names. It doesn't include a dedicated drag-and-drop visual seating designer today, so for the actual table-by-table layout, pair your guest list with whichever seating tool fits your event's scale, using the checklist above to judge it.
For more on getting the RSVP side of this right before you ever open a seating chart, see how to manage event RSVPs, and if you're planning a full gala or fundraiser layout, our fundraiser templates cover the planning steps around the room itself, not just the seating. Start free to get your guest list and RSVPs organized before you build the chart.